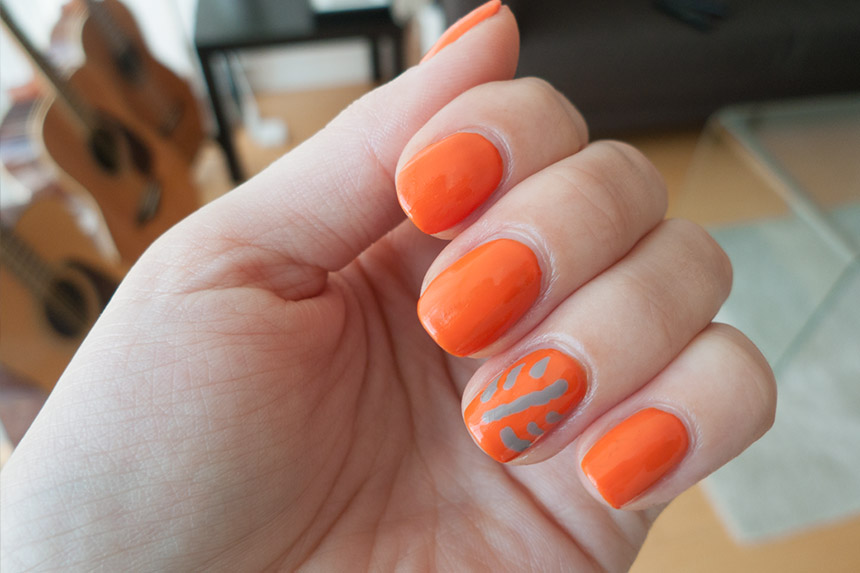
I’m was honoured to have been asked to create a fall post for stickyfloorsandjimmychoos.com! I wanted to share my guest post here too! Fall is my favourite season, and I was super excited to create something new, inspired by my favourite time of yerl. I recently picked up a nail stylist, which is one of those metal tools used to create intricate nail designs. I am not very skilled just yet, but I was itching to try it out. The look I achieved is easy for anyone to do in their own home, and very affordable. The leaf design that I created on my ring finger was done by a few strokes with the nail stylist. Simple, simple, simple!
Below I’ll also share where I picked up all the products I used. I love getting a relaxing manicure in a salon every now and then, but a DIY mani’s can be just as fun! Once you find a brand of polish you really love, the possibilities are endless! It’s a great, cost efficient way to pamper yourself!
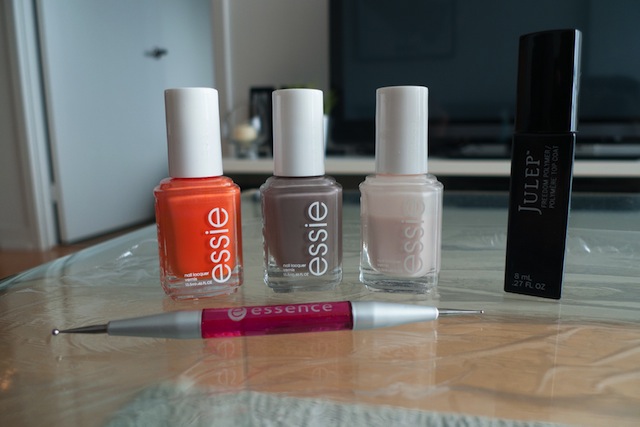
What I Used:
- Essie – Fear or Desire
- Essie – Miss Fancy Pants
- Essie – Ballet Slippers
- Julep – Freedom Polymer Top Coat (Julep is now carried at Sephora, as well as at Julep.com)
- Essence – Nail Art Stylist
- Plastic Wrap (to protect your working surface)
Steps:
- Cover your surface with plastic wrap
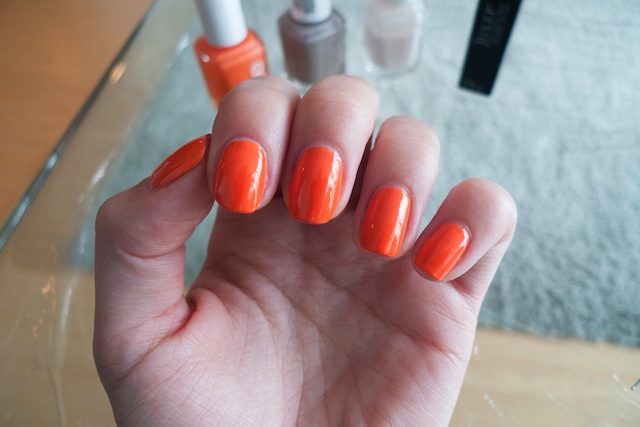
- Apply two coats of the base colour (I used the orange). Let dry for 5 minutes
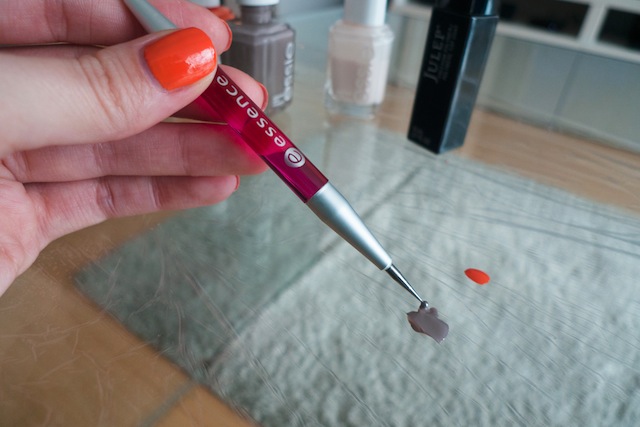
- Put a few drops of the darker colour onto your working surface, then apply a small amount to the end of the stylist
- Simply apply to your nails, re-dipping as needed!
- Let dry for 15 minutes, then apply polymer top coat. Voila! Your fall nails are complete.
Speak Your Mind